How To Connect Power Supply To Motherboards: A Step-by-Step Guide
We may earn a commission for purchases using our links. As an Amazon Associate, we earn from qualifying purchases.
If you do not have much experience or knowledge in PC building, installing PSU into your internal desktop components could be a bit tricky at first.
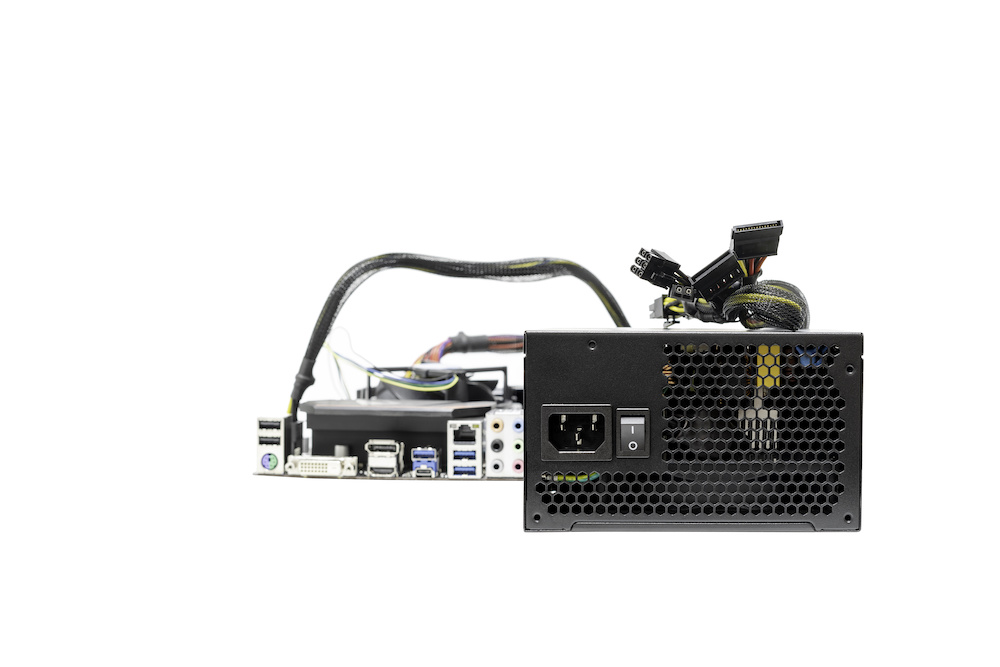
A power supply unit or PSU is the hardware responsible for converting and distributing the electricity from the outlet into the computer's internal parts.
As such, knowing how to connect power supply to motherboards and other components is an essential skill you need to have.
Let's be familiar with the steps on installing the PSU to the motherboard and other related information.
What You Need To Prepare
Before you start installing the power supply into your computer system, you need to have a couple of tools.
ALSO READ: How To Connect RGB Fans to Motherboard?
Screwdriver
First, you need a screwdriver to lock the PSU into the casing properly.
As much as possible, don't settle with a single screwdriver.
Having a screwdriver set is optimal because it enables you to handle different tips and sizes of screws.
Zip Ties
Many pro PC builders use zip ties or Velcro cables whenever they install a PSU, primarily for cable management.
We're going to tackle later on the importance of tying the wires properly inside your case.
Working Area
Most experts recommend a clean, spacious surface area where you'll be doing the installation.
Too much clutter and cramped space could easily lead to mistakes and accidents, resulting in potential damages to the components.
Anti-Static Wristband
You can also use an anti-static wristband if you already connected the PSU to the outlet before attaching it to the motherboard or if you're working on a metal surface.
It is not mandatory to have this accessory for PC building, but if you want to avoid conducting static charges into your skin, you might want to consider wearing one.
How To Connect Power Supply To Motherboards
Once you have made the necessary preparations, it's time for you to install the PSU into the motherboard.
It is great to know that the power supply connectors are designed to connect in only one way, so there's no danger of committing mistakes when connecting them to the components.
To put it simply, if it doesn't fit or there is strong resistance while establishing the connection, then you're doing it wrong.
1. Lock the Power Supply
Unless you have a custom case or an enthusiast-grade PC case, a power supply is meant to be placed on the top-back portion.
It's pretty hard to miss where it should go because the PSU perfectly fits on the opening on the back.
Once you have placed the power supply properly, screw it into place.
Ensure that the fans and socket are exposed to the opening at the back of the case.
2. Connect the 20(+4)-Pin Power Cable
The main power connection, often referred to as the 20-pin power cable, is the most crucial cable that connects the electrical source to the rest of the system.
It is the power cable that connects the motherboard to the power supply.
Identifying this cable shouldn't be challenging because it usually has four additional pins disconnected from the 20-pin.
Often, this extra set of pins doesn't need to be connected because several motherboards only have a 20-pin connector.
If your motherboard has a 24-pin connector and your power supply only has 20 pins, you might need to replace it with a PSU that matches your motherboard slots.
Most likely, there is a small clip on the top of your motherboard connector.
Once you hear a click when you insert the 20-pin PSU connector, it means that you secured the connection in place.
3. Connect the 4/8-Pin Motherboard/CPU Cable
Also referred to as the CPU power cable, it is usually designed to have two sets of 4-pin connectors.
However, you may have an 8-pin CPU connector on your motherboard.
Initially meant for professional servers, the 8-pin connector is now found on a wide range of general motherboards.
If your motherboard has 4-pin headers, then there's no need to find another slot for the other set.
You only need to insert a single 4-pin connector to make it functional.
In most cases, you'll see an ATX_12V or CPU_PWR1 label right beside it, so it would be simple to identify the port.
Make sure you insert the connectors carefully until you lock them into place.
That's pretty much it for the motherboard, but if you aren't sure how to connect the remaining wires, we're going to check it out as well.

Attaching the Rest of the Cables
To make the power supply fully functional to the desktop system, we have to make sure that other components have an established connection.
Here are the steps that you need to take:
1. Connect the Disk Devices
Three main disk devices are standard in desktop PCs: hard disk drive, optical drive, and solid-state drive.
Most PSUs nowadays have three SATA power connections, which match the three drives.
Plug the SATA power connectors from the PSU to the drives.
Similar to other connectors, the design is foolproof.
As such, if it doesn't fit, it's an indication that you're inserting it by mistake.
It's possible that your power supply only has 4-pin connectors if it's older.
A Molex-to-SATA adapter will be required if you have this type of motherboard slot.
On a side note, bear in mind that SATA cables do not have a locking mechanism, so make sure you insert them tightly to avoid a loose connection.
2. Connect the Video Card (Optional)
Older or low-power graphic cards do not need a separate power cable because the motherboard's connection to the power supply is sufficient.
However, recently-released graphics cards require a direct power connection from the PSU due to their higher performance output.
If your GPU has an intended slot for power connection, it will most likely be a 6-pin or 8-pin connector.
In some cases, a dual 6-pin or 8-pin adapter is required if your video card requires such a connection.
3. Connect the AIO Cooler (Optional)
AIO (All in One) CPU liquid cooler has become a prominent accessory in modern-day gaming desktops.
A SATA power connector is most likely required to give it power, so you have to make sure you have an unused adaptor in your PSU.
Cable Management Tips
An integral part of installing a PSU into your desktop is ensuring you line up the cables correctly.
Even if your computer case is not transparent, it's still crucial to maintain your power wires and other cables tidy.
Dust could easily accumulate if your cords are scattered around, leading to clogging of heat syncs and other related issues.
Another deterrent if you have messy cable management is it will make adjusting, cleaning, or changing components more difficult than it needs to be.
If you're having difficulties managing your cables, there are a couple of methods you can consider.
PC Cases for Cable Management
Choosing a case designed to provide terrific cable management options is the easiest way to maintain your internal wires.
A cable-friendly PC case usually is constructed to have the power supply cables be guided beneath the motherboard tray, allowing you to tie the cords easier.
Despite this design choice, it will still be up to you how the arrangement of cables will go.
As stated above, these cases allow you to conceal the wires beneath the right panel, but you still need to plan carefully.
One of the benefits of good cable management is that you won't have several wires bundled in the same area if you plan before starting with the installation.
Remember that there's no right or wrong way to manage the cables because the components you have will dictate how you should arrange them.
The design includes cable loops or spots where cables can be attached to the case to help you manage the wires better.
You can use zip ties or Velcro straps to compress and secure the wires into place.
RELATED: How To Clean Motherboards (Guide)
Modular Power Supply
A modular power supply enables you to add and remove cables depending on the situation.
The cords on traditional power supplies, on the other hand, are permanently attached to the PSU.
A semi-modular PSU exhibits features of the fully modular and non-modular PSU.
Some cables such as motherboard and CPU cables are fixed, while PCIe, SATA, and Molex wires are detachable.
Full modular PSUs have a significant edge over semi and non-modular power supplies in regards to cable management.
Among the most time-consuming and cumbersome parts of PC building is cable management.
A full modular PSU allows the builder to use the wires required for the project, decreasing cable clutter in the case.
Ultimately, this type of power supply saves you time and effort in installation and cable management.
Conclusion
Now that we have the necessary information regarding how to connect power supply to motherboards, you should be ready to do it.
That said, if you're still not confident, you can always check out videos available on video streaming sites.
Installing a power supply and cable management is an unavoidable part of the PC building process.
Thus, make the effort that you do it the right way.

