How To Test Motherboards: Easy Hacks for Beginners
We may earn a commission for purchases using our links. As an Amazon Associate, we earn from qualifying purchases.
Having some motherboard troubleshooting problems lately?
Learning how to test motherboard issues can be tricky. Similar to CPU problems, the system does not accurately point to the problem.
Whenever a motherboard has some problems, a computer runs slow, randomly freezes up or restarts, won’t boot to the OS, or won’t start at all.
Additionally, the system can lock itself out or display the blue screen of death (BSOD).
Sometimes, the computer can warn you by producing a very vague error code, an audible signal, or a red light.
These signals could point to problems with ports, expansion slots, memory modules, and other hardware issues that would incite thorough motherboard diagnostic analyses.
How To Test Motherboards Several Ways
Motherboard and power supply issues can be the most challenging computer problems to diagnose because of the vast array of smaller parts embedded in them.
As innovations allow effortless and more user-friendly options for swift motherboard problem diagnoses, it is up to you to do the underlying research.
ALSO READ: How To Test a Motherboard With a Multimeter
Take advantage of the following list and isolate each motherboard problem in no time.
1. Apply POST Diagnosis
Motherboards run the Power-on Self-Test (POST) every time you turn your computer on.
If everything runs smoothly, the POST allows automatic continuation and complete startup.
Otherwise, a motherboard problem can cause the POST to result in the same troubleshooting signals indicated earlier.
2. Pay Attention to All Diagnostic Signals
A system shutdown can be a result of faulty hardware, and your motherboard could be the main problem.
The beeping sounds, diagnostic LEDs, and error codes can correspond to precise troubleshooting and problem-solving instructions.
Better take note of these signals because they can lead you to solve the problem step by step.
3. Use BIOS/UEFI Diagnostics
All motherboard vendors equip their products with Unified Extensible Firmware Interface (UEFI) diagnostics programs.
If your motherboard has a problem, there is a fat chance you won’t be able to access the onboard BIOS/UEFI.
One way of circumventing this is by using a compatible UEFI program, which you can install on a bootable USB drive.
Not only can you use it for testing motherboard issues, but you can also diagnose problems with RAM, displays, fans, and other components.
Sometimes, the problem is just an outdated BIOS setup.
Once you get into the UEFI, check for any available BIOS updates and then download and install them immediately.
If no updates are available, find a restore or reset button so that you can revert the BIOS settings to default.
4. Replace the CMOS Battery
If the system doesn’t even proceed with BIOS, chances are you need a CMOS battery replacement.
Older motherboards still have a CMOS chip that stores boot settings for the computer to start correctly.
This CMOS chip requires a battery to keep running and maintaining the BIOS data every time the computer is powered down.
If startup proceeds with BIOS after CMOS battery replacement, your motherboard problems may be over.
You just have to restore the correct date and time signals to the system clock.
5. Reboot With Partial Components
Suspecting a motherboard problem goes hand-in-hand with checking for piecewise issues that each computer component may have.
Another way to test for motherboard issues is by rebooting only with essential components.
Detach unnecessary components, such as sound cards, modems, and other peripheral devices. Next, detach and reseat both the RAM and the CPU.
Inspect for loose connections everywhere on the motherboard while reseating the basic components.
Additionally, you can take it up a notch by detaching the hard drive.
You won’t be able to run your operating system without the primary boot drive, but you can check the whole BIOS setup.
If you have another working computer, add another step by swapping its power supply unit (PSU) and graphics card for the same components on the faulty PC.
Then, try turning on the faulty PC.
If everything runs smoothly, the motherboard is OK, and one or some of the components you replaced or removed could be causing the problem.
You can now put the components back one by one until you find which causes problems on the motherboard. Think of it as finding the odd one out.

Things You Can Do to Avoid Motherboard Problems
Proper maintenance and assembly can help you avoid motherboard problems altogether.
Although manufacturers design and assemble computers to work without issues for a very long time, regular use should equate to proper care and maintenance.
Here are a few things you can do to keep your motherboard in check.
1. Keep System Heating to a Minimum
As you overload your computer with games and applications that strain the processor, it becomes more vulnerable to overheating.
Moreover, leaving your PC to accumulate dust for a long time can cause the fans to malfunction anytime.
An overused computer with faulty fans is bound to overheat even under light applications that require less CPU power.
Excessive heat from any source can lower the electrical resistance of motherboard components, thereby increasing current flow.
Most motherboards have built-in thermal sensors that instruct other components to slow down or completely stop working when overheating occurs.
A motherboard diagnostic test can show which components attached to the motherboard require some cooling down.
Likewise, if your computer has RGB LED controls, you can add settings to make the lights correspond to heating levels and warn you about any overheating.
Maintain the cooling components of your computer by giving the fans a cleanup now and then.
These practices allow you to keep heat levels in check to retain smooth running conditions for your PC.
2. Protect Against Short Circuits and Power Surges
Assembling your PC can be an excellent and addicting hobby. You may have access to several computer components and would like to mix them up and try everything out.
Sometimes, you may overlook an improper connection between a point on the motherboard and another metal conductor somewhere near it.
Look for unseated components, debris, extra wires, and metallic objects out of place and touching the motherboard circuitry.
These objects can include even the computer case, which can create a short that disrupts motherboard electronic circuitry.
Additionally, you may be using a faulty power outlet, and it causes unexpected power surges that can burn your motherboard.
Try using a different outlet and observe if problems persist.
How Do I Test My Motherboard Power?
Whenever you have issues with your motherboard, the power supply can be the culprit.
If the board shows no signs of powering up, the issue could be the PSU.
It may not be receiving the correct signals or the correct amount of electricity to juice up your motherboard.
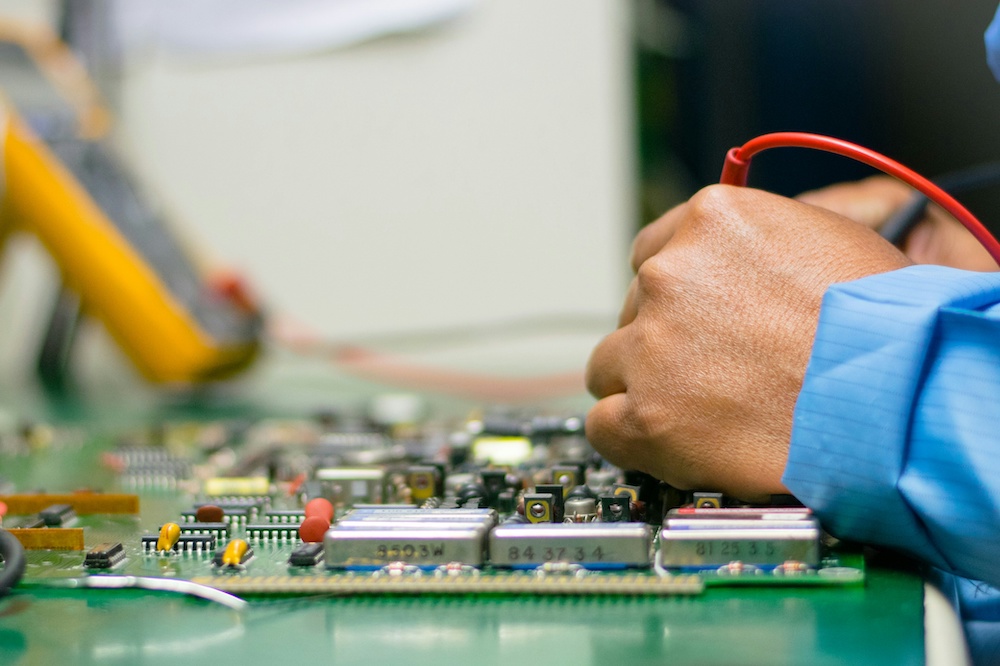
You can use a PSU tester or a multimeter to check if the PSU is functioning properly.
If you don’t have either, replace the PSU with a verified working one to check if it is the one causing the problem.
Alternatively, you can bring your PC to your local tech store, and they can diagnose it for you.
RELATED: How To Tell if Power Supply Is Bad or Motherboard Is Defective (Guide)
How Do You Know if Your Motherboard Is Fried?
Learning how to test a motherboard moves you closer to understanding how to work out the more problematic issues surrounding any computer.
Here are a few indications that could prompt you to replace your motherboard or any malfunctioning components on your PC.
1. Physical Check-Up
Another procedure for testing motherboard components is by making a close-up, physical examination of the board.
If you notice a burnt smell or appearance, and if you see leaking capacitors somewhere on the board, chances are the board is already fried.
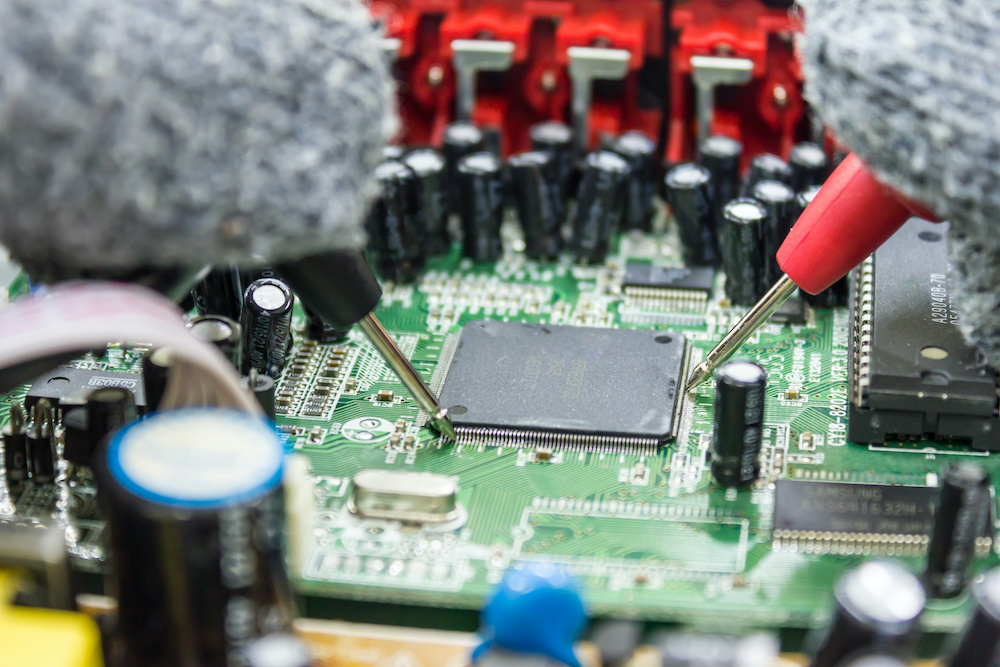
Using a multimeter for testing a motherboard lets you check for faulty, distended capacitors that ultimately damage your motherboard.
It is virtually impossible to check for each capacitance, but it is possible to determine whether they are working.
2. PC Does Not Turn on, Freezes up, or Unexpectedly Shuts Down
Kudos to you for trying everything, and your PC still randomly freezes up, locks you out, and completely shuts down.
If you tested for usability and re-assembled everything into a working computer one at a time, you might have just learned a thing or two.
You can now work out how to test a motherboard or every other component every time there is a problem.
Still, if you have religiously done the steps here several times and your computer still doesn’t turn on, it may be high time that you said goodbye to your old motherboard.
3. Consistent BSOD and Beep Sounds
Are you consistently having the ugly blue screen of death every time you boot up the system?
Or do you hear long, irksome beeps during startup, and nothing happens on-screen?
If you have gone through all the twists of testing a motherboard and still get the BSOD and the beeps, try bringing it to your local tech repair shop.
If even they can’t do a thing, you should prepare your wallet for a replacement motherboard.
How Can I Test To See if My Motherboard Is Bad?
Now you know how to test motherboards in several ways.
Take advantage of POST diagnosis and other free BIOS diagnostic tools, replace the CMOS battery, or do a component triage after every reboot.
To avoid testing at all, keep overheating very low, and prevent short circuits and power surges.
Each step can be strenuous, but it will pay off when it results in you not having to buy any replacement parts for your computer.
You may end up having a faulty motherboard altogether, and you might just have to buy that replacement.
Even so, look at the bright side. You are now better at diagnosing motherboard stuff.

